
Have you ever felt like Life was pointing a great big arrow at something, waiting for you to notice it? Well, it happened to me last winter. It seems that everywhere I looked I'd come across info about the health benefits of fermented vegetables. It sort of culminated with our neighbors giving us a big head of cabbage, as they were going away for a few weeks.
Having suffered from candida for years, one of my weaknesses has always been my digestive system. Needless to say I became very intrigued by cultured veggies' healing properties so I decided to 'pay attention' to what Life was trying to tell me and see for myself what the fuss was all about.
Fermenting For Health
Fermentation is a process by which foods are pre-digested by friendly enzymes, fungi, and good bacteria. As
Mike Snyder pointed out in his March 2007 newsletter, this makes fermented or cultured foods "easier to digest, releases nutrients and increases the enzyme levels".
Some of the health benefits of fermented veggies include:
- strengthening the immune system
- having a soothing effect on the nervous system (They are known to be beneficial to children with autism and ADD.)
- alleviating intestinal disorders and creating a healthier digestive system by supplying beneficial flora and bacteria (also called probiotics). As
Dr. Joseph Mercola puts it, fermented veggies form "a 'living shield' that covers the small intestine's inner lining". It is said that they also prevent bacteria and fungal overgrowths (albicans candida).
- helping to regulate weight and appetite by reducing cravings for sugar, soft drinks, bread and pasta.
Erica of
SchoolOfRAWk has also written a great, very informative article explaining why "Fermented Foods Are Essential For Health". Check it out
here.
Sauerkraut 101
There are a variety of fermented foods, many of which were traditionally part of our ancestors' diets. These include veggie-kraut, kimchi, kefir, yogurt or cheese made with nuts and seeds, rejuvelac, miso, Nama Shoyu (unpasteurized soy sauce), kombucha tea (which I recently started making too, but that's for another post!), and of course, the well-known pickles and sauerkraut.
The Quest For The Right Tools
Having no special equipment, at first I resorted to using a large ceramic pot with a plate and a weight on top. When I read about how unfriendly bacterias can easily develop if sauerkraut isn't made under the right conditions, I decided not to take any chances and to throw that first batch away. That prompted me to start looking for proper equipment; if I was to give sauerkraut making a serious try, might as well do it right!
I knew of the traditional ceramic crock pots, but these are costly and therefore weren't a real option for me. Then I came across a post on
Raw Food Talk recommending the
Pickle, Sauerkraut and Kimchi Maker sold by Mike at his
The Raw Diet Heath Store. It had a lot of great reviews and, best of all, was quite inexpensive (about $30 including shipping). My search was over!
(
Note: RawVegan4Health has ingeniously come up with a home made version of the Sauerkraut and Kimchi maker for roughly $9. He has posted the
instructions on our forum,
Raw Freedom Community.)
Now, some 4 batches later, I'm by no means an expert at sauerkraut making, but I thought I'd share some of the valuable things I've learned along the way.
Preparing The Cabbage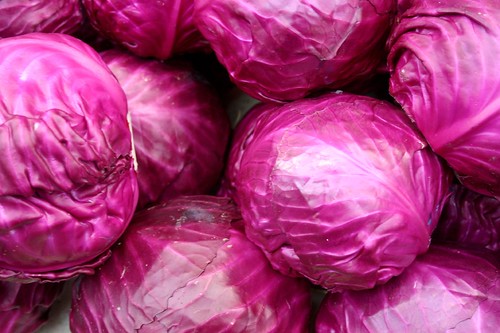
I like using a mixture of green and red cabbage as the resulting color is just stunning. One of the things I most enjoy about this system is how, as you'll see, you can watch the cabbage change color from day to day, turning into a bright fuschia. Nature's artwork!
I've come across recipes suggesting that you need 5 lbs of cabbage total to fill up a gallon jar, but I always end up using about 9 lbs.
The first thing I do is clean all of my equipment really well. Scalding is a good idea in order to sterilize it and prevent potential problems during the fermentation process.
I then remove the outer leaves, chop the cabbage into medium chunks, then put these through my food processor, using the smallest slicing blade. Alternatively, you could shred the cabbage with a mandoline or a sharp knife. I end up with some nice, fine cabbage strips. (Well, for the most part anyways...)
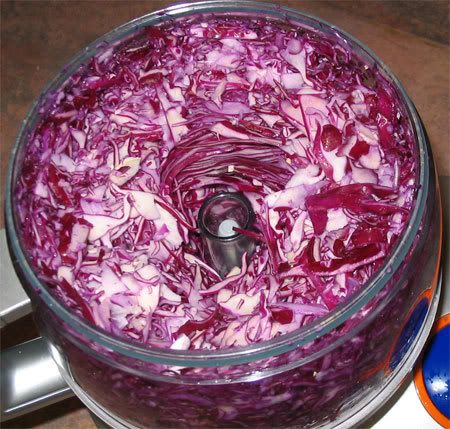
I don't know if it's because my food processor isn't so hot, but it leaves some pretty coarse pieces as well, so I just pick these out and process them separately with the S blade.

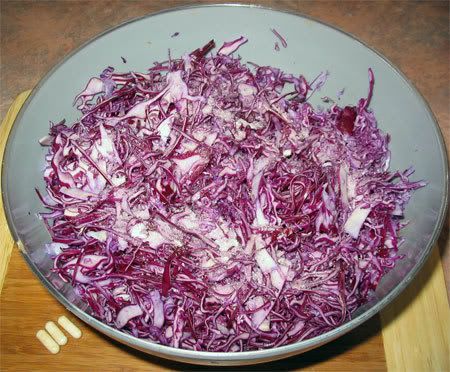
I then put the chopped cabbage in large bowls and add sea salt; the usual ratio is 5 lbs cabbage/3 tbs sea salt. You want to make sure to use enough as I've lost a couple of batches due to them not being sufficiently salted. Major bummer after all that work! I have read that you can use seaweed as well, but have yet to try it.
I also recommend throwing in a few capsules of probiotics. (You can find these in most health food stores.) I usually mix in 3 caps per gallon jar, along with the salt. This considerably quickens the fermentation process by giving a boost in friendly bacteria. My last batch of sauerkraut was ready in 5 days instead of the usual several weeks!!! I think Gabriel Cousens uses miso in his recipes for the same purpose, plus it also acts as a salting agent.
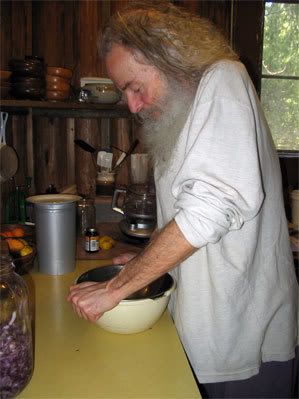
Next, it's time to do a little work out! I massage the cabbage/salt/ probiotic mixture for a few minutes in order to help release the juices. There are all kinds of ways to achieve this; I've tried stepping on the cabbage with my bare feet (messy!!! lol), and I think Erica of
SchoolOfRAWk uses a baseball bat to pound on the cabbage (he he), so you can be creative and see what method you like best.
For my part, I find that pressing down on the cabbage with another bowl works really well and is simple and quick.
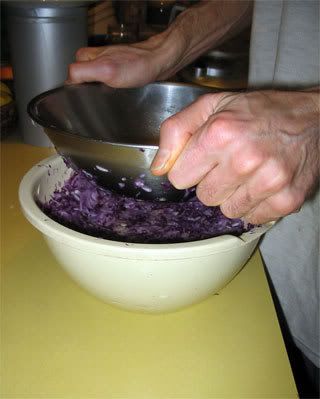
Actually, as you can see, that's Don's job!
At this point, you can also mix in other veggies (carrots, greens, Brussels sprouts, celery, zucchini, turnips and beets), herbs and spices (caraway seeds, dill seeds, celery seeds, juniper berries, onion, garlic, hot pepper, turmeric, ginger or burdock root) or even fruits (usually apples). You can totally experiment. For my part, I'm quite happy with a few cloves of garlic.
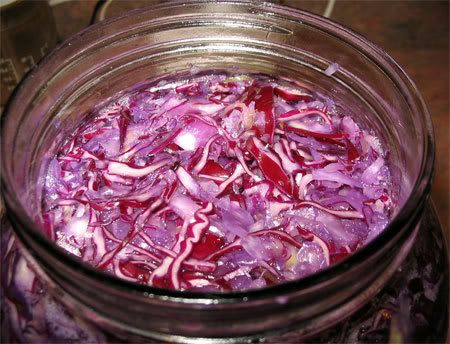
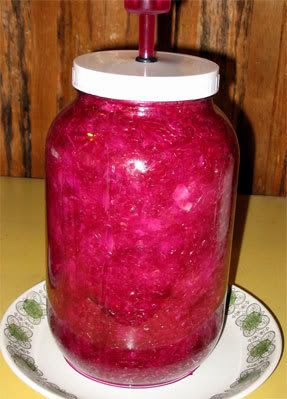
I then pack the cabbage tightly in the jar, a little at a time, to make sure there are no air bubbles trapped in there.

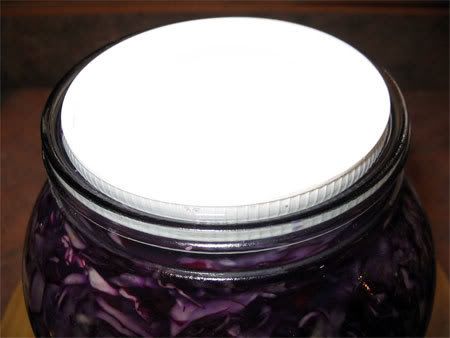
I fill it right up to the bottom of the jar's neck so that once I insert the small cap upside down, the latter is level with the jar top. The reason for this is that the big cap will then press against it and keep the cabbage submerged in liquid which is key.
Here's the small inverted cap which I then fill with water to the very top. I know you can't see much but the water is in there!
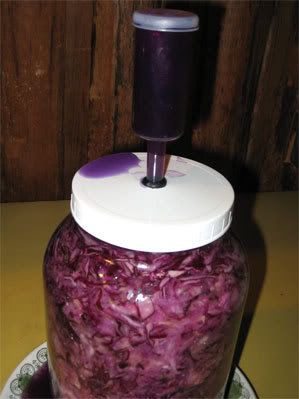
Next, I remove the small rubber plug from the grommet and screw the big cap onto the jar. Water or brine should come out of the little hole. If it doesn't, simply pour in more water until it does. Then I fill the air lock with water to the line on the outside cylinder and insert the air lock into the cap grommet.

Finally, I set the jar in an non-obstructive corner of the kitchen counter. A lot of juice gets released during the fermentation process, so you definitely want to put a plate or a dish underneath the jar, and drain it as it fills up. Let the whole thing sit at room temperature (60 to 70 degrees).
This is the part that thrills my inner child! The kraut will soon start doing its thing. I just love watching the fermentation process; brine and bubbles coming out. After a couple of days, I start checking on the level of liquid inside the jar, adding some brine (ratio 1 cup water/1 tsp salt) as needed to ensure that the cabbage remains submerged.
The sauerkraut should be ready after 4 or 5 days, depending on the room temperature and provided you use the probiotics. Our house gets pretty cool at night in the wintertime so it has taken as long as 6 or 7 days. You can tell that it's ready when there are no longer any bubbles coming to the surface. You can also taste it; it should have a pleasant tartness and be crunchy. (If the sauerkraut is soft, do not consume it!)
Behold The Transformation
What follows is a series of photos to give you an idea of the different stages of the fermentation process. The pics were taken from a batch I made in the Spring.
End of Day 1

Day 2
Day 3 (Notice how the color is dramatically starting to brighten up!)

Day 4
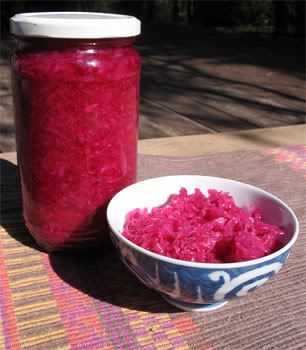
Day 5

Tada! The best sauerkraut you've ever tasted!!! I sometimes need to add a little brine when I transfer to individual jars since liquid tends to 'shrink' when exposed to cooler temperatures.
If you have a sensitive digestive system, you may have to work up your tolerance by consuming 1 tablespoon of sauerkraut a day for a week or so. That's what I had to do initially, and now I'm eating lots pretty much every day (and LOVING it!) The kraut will keep in the fridge for months. In fact, you'll find that it will continue getting better and better. So yum!
Commercial fermented products found in supermarkets and stores are usually pasteurized. In other words, they are no longer 'alive', and the enzymes and beneficial bacteria have been destroyed. Not to mention all the salt, sugar and preservatives that they may contain! Yet another reason to start making your own!
If you would like to find out more about fermented veggies, there is loads of info available on the net. As I was mentioning earlier,
Mike's site is awesome. You might also want to check out
Chet Day's Health & Beyond for instructions on sauerkraut making. And there's of course the 'mecca' of fermented veggies: Sandor Ellix Katz's
WildFermentation.com.
Happy sauerkraut making!
*~*~*~*
Photo Credits
green cabbage 2 by L0is
Red Cabbage by marcusfrieze

 Gobbling Peach Cobbler


